
Embarking on a major home transformation is an exciting milestone, but without a clear roadmap, unexpected delays and budget overruns can quickly turn a dream project into a stressful experience. Learning how to plan a home renovation timeline is the single most effective step you can take to keep your project running smoothly from initial concept to the final walkthrough.
Whether you are remodeling a single room or executing a full overhaul, working with experienced home renovation contractors ensures that every trade, permit, and material order is sequenced with precision. This comprehensive guide breaks down real-world schedules, phase-by-phase expectations, and essential planning strategies tailored for homeowners across the Greater Toronto Area (GTA) and Ontario.
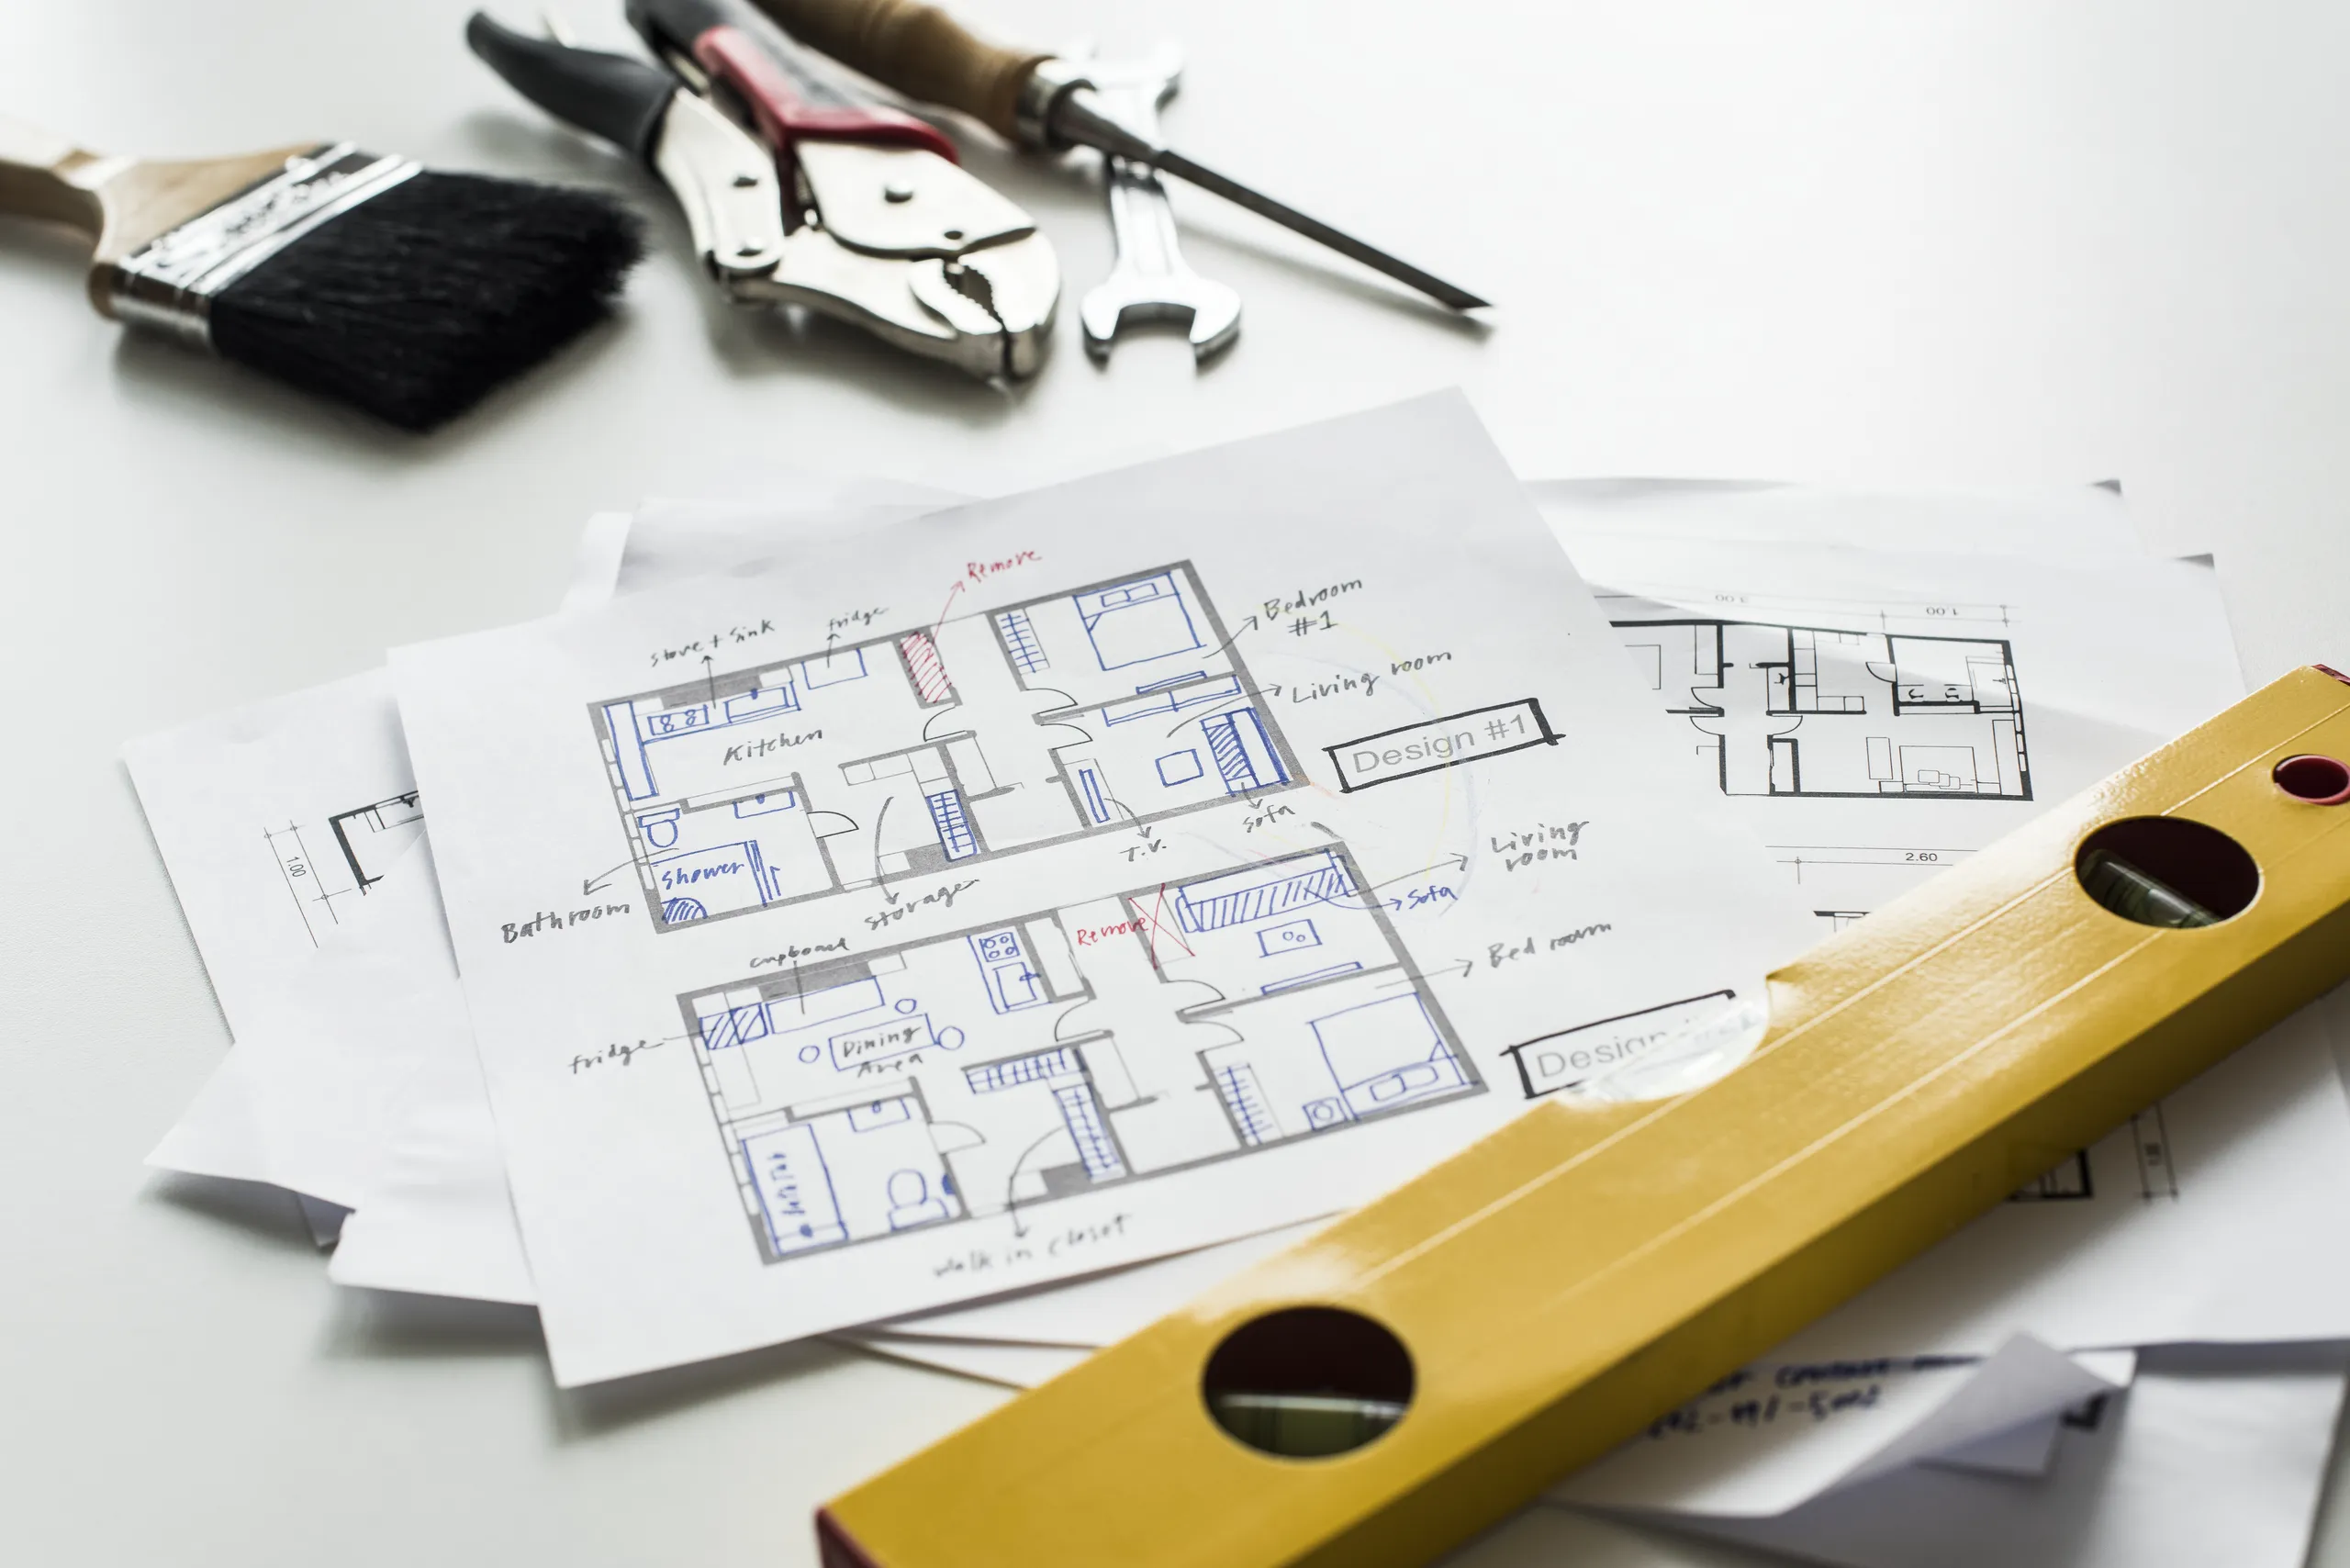
Realistic Timeline for a Full Home Renovation: What to Expect
Every property has unique structural needs, but establishing baseline industry schedules gives you a benchmark for planning. At Millennial Contracting Inc, we streamline our project management to deliver high-end craftsmanship without unnecessary downtime.
While general market averages often stretch full-house remodels past 8 to 10 months, an efficient construction team can complete a timeline for a full home renovation in just 3 to 5 months of active construction, provided pre-construction planning is completed in advance.
The table below breaks down realistic active construction timelines based on project scope:
| Renovation Scope | Average Construction Duration | Key Timeline Factors |
| Full Home Renovation | 3–5 months | Structural alterations, multi-floor mechanical rough-ins, custom finishes |
| Main Floor Renovation | 2–3 months | Open-concept wall removal, flooring replacement, kitchen integration |
| Kitchen Remodel | ~6 weeks (8–10 weeks for complex layouts) | Custom cabinetry lead times, structural changes, island plumbing/electrical |
| Bathroom Remodel | ~4 weeks (6–8 weeks for detailed builds) | Custom tile work, fixture relocation, luxury walk-in shower installs |
How Scope Impacts Your Schedule
- Kitchen Renovation: A standard kitchen update averages roughly 6 weeks on site. However, if your vision involves moving load-bearing walls, rerouting gas lines, or installing custom cabinetry, expect a 8 to 10-week construction window.
- Bathroom Remodeling: Simple updates (replacing vanity, toilet, and tile in an existing footprint) take around 4 weeks. Detailed, spa-like transformations with custom curb-less showers, freestanding tubs, and upgraded plumbing require 6 to 8 weeks.
- Home Addition: Expanding your footprint or adding a second story adds structural foundation work and extensive municipal inspection schedules, stretching the total home renovation timeline past the standard 5-month mark.

Step-by-Step Home Renovation Timeline
A successful renovation happens in two distinct stages: Pre-Construction (where permits, design choices, and procurement happen) and Active Construction (where physical work takes place).
Phase 1: Pre-Construction, Design & Procurement (Weeks 1–6 Before Demolition)
Before a single sledgehammer swings, essential groundwork must be laid to avoid mid-project halts:
Finalize Architectural Plans & Scope:Lock in floor plans, electrical layouts, and structural engineering.
Secure Building Permits: Submit drawings to your local municipality (e.g., City of Toronto or local GTA building departments). Permit reviews typically take 2 to 6 weeks.
Order Long-Lead Materials: Custom cabinets, imported tiles, windows, and exterior doors should be ordered beforedemolition starts to ensure they arrive on site right when trades need them.
Phase 2: Demolition & Structural Framing (Construction Weeks 1–3)
Site Protection & Demo: Crew covers floors, installs dust barriers, removes existing fixtures, and strips spaces down to the studs.
Framing & Structural Alterations: Load-bearing beams are set, new room layouts are framed, and subfloors are prepped or leveled.
Phase 3: Mechanical Rough-Ins & Framing Inspections (Construction Weeks 4–7)
Trades Integration: Electricians, plumbers, and HVAC specialists run lines, conduits, and ductwork behind open walls.
Rough-In Inspections: Municipal inspectors review mechanical systems, insulation, and framing before walls are closed.
Phase 4: Drywall, Flooring & Interior Finishes (Construction Weeks 8–14)
Boarding & Taping: Drywall is installed, mudded, sanded, and primed.
Flooring Installation: Hardwood, engineered plank, or tile surfaces are laid down. Coordinating a seamless flooring installation early in this phase ensures custom millwork sits flush against new floors.
Millwork & Trim: Custom kitchen cabinets, bathroom vanities, interior doors, baseboards, and casing are installed.
Phase 5: Fixtures, Punch List & Final Touches (Construction Weeks 15–20)
Final Mechanicals: Lighting fixtures, outlets, faucets, toilets, and HVAC grilles are connected.
Paint & Detailed Finishing: Touch-up paint, hardware installation, and glass shower enclosure fittings.
The Punch List Walkthrough: You and your project manager conduct a final inspection using blue painter’s tape to mark minor touch-ups. Any final adjustments or specialized fixes can be efficiently addressed using professional handyman services to ensure every detail meets white-glove standards before final sign-off.
Main Floor Renovations: How to Stay at Home During Construction
Main floor remodels are among the most popular projects for GTA homeowners looking to create open-concept living spaces. However, many worry they will need to pay thousands of dollars in temporary rental or hotel costs during the 2 to 3 months of active construction.
The Lower-Level Living Strategy
If your home features a finished basement remodel, you do not need to move out during a main floor overhaul. Our clients frequently transition their living quarters to the basement while work proceeds overhead.
How to set up a comfortable temporary basement living area:
Set Up a Functional Temporary Kitchen:Place a microwave, toaster oven, mini-fridge, and electric hotplate on a folding table or wet-bar counter.
Isolate Dust & Noise: Work with your contractor to seal off HVAC vents leading to the basement and set up zippered plastic dust barriers at the main floor stairwells.
Establish a Dedicated Crew Access Point:Have contractors enter through a side door or garage entrance to keep your lower-level sanctuary private and quiet.
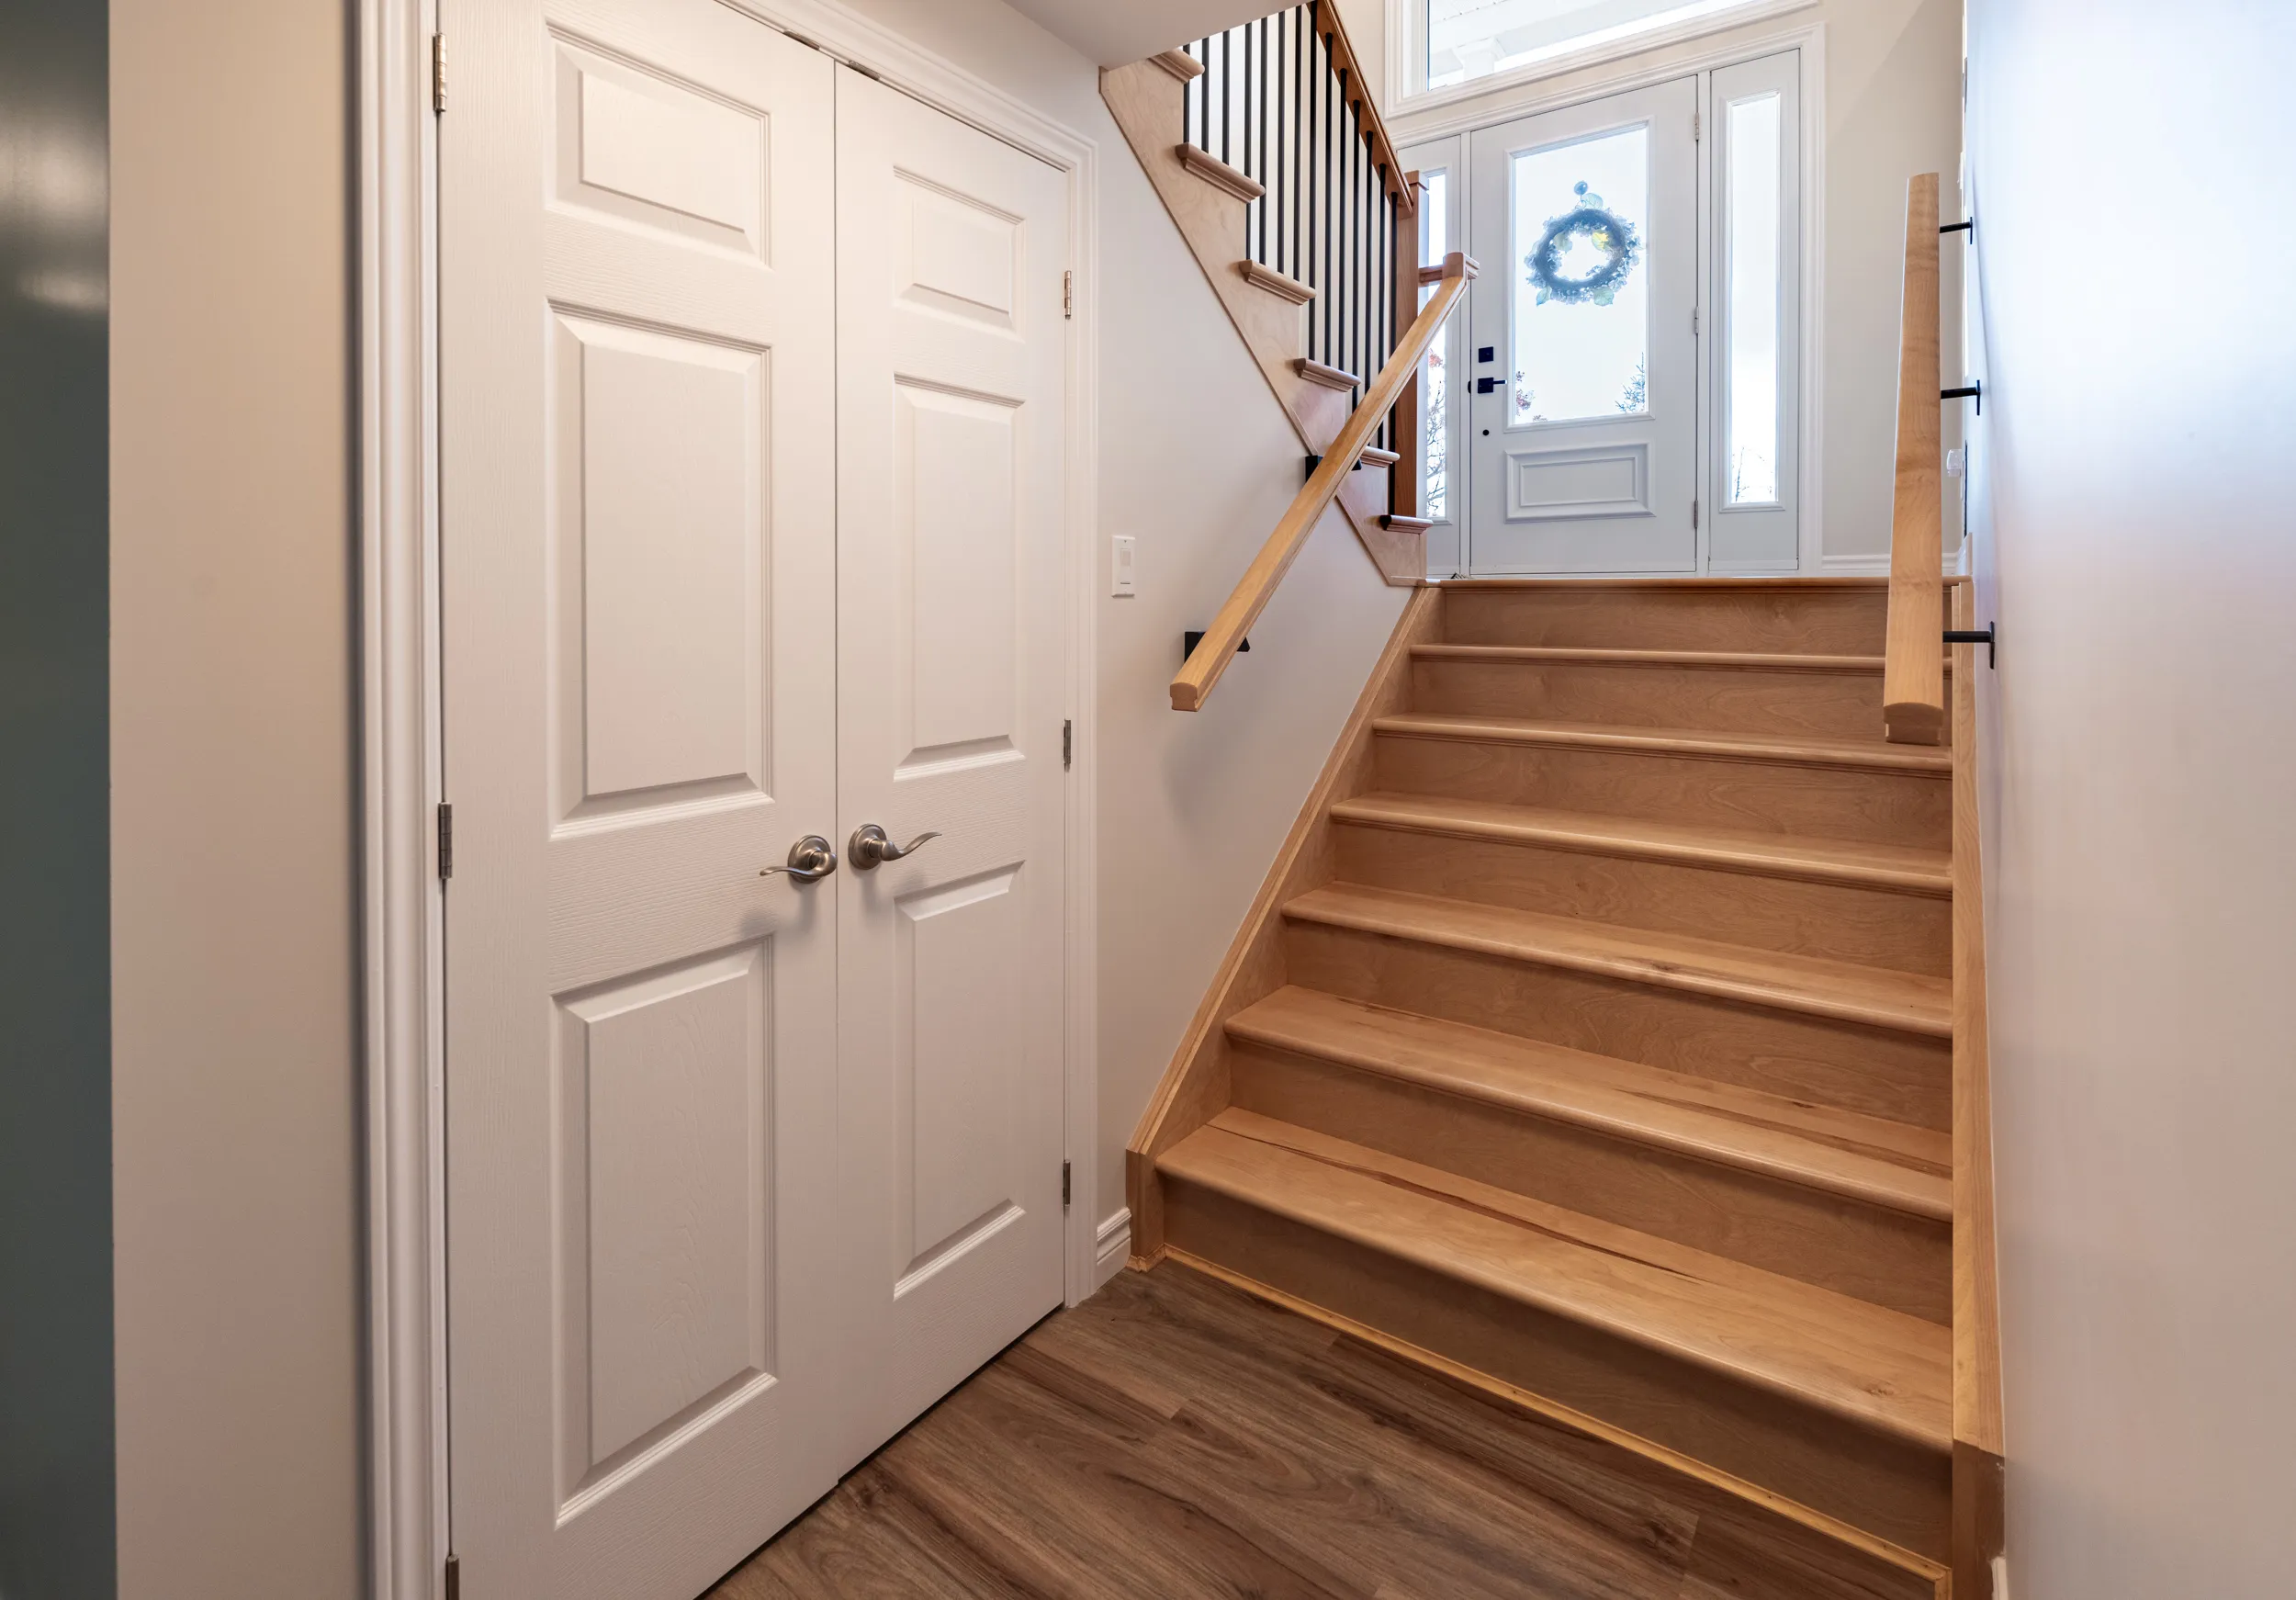
The Ultimate Renovating a House Checklist
Use this structured renovating a house checklist to audit your readiness before site work begins:
1. Scope & Budget Preparation
☐ List non-negotiable functional requirements (“Must-Haves”) vs. aesthetic desires (“Nice-to-Haves”).
☐ Set aside a 15% to 20% financial and timeline buffer for unforeseen hidden issues (e.g., outdated knob-and-tube wiring, plumbing leaks inside walls).
☐ Lock in fixed pricing and detailed scopes with your general contractor.
2. Regulatory & Administrative Approvals
☐ Verify if your project requires municipal permits (structural removals, plumbing relocations, additions).
☐ Notify condo boards or homeowners’ associations (HOAs) if applicable.
☐ Confirm your contractor carries active WSIB coverage and at least $2M in General Liability Insurance.
3. Procurement & Logistics
☐ Order custom cabinetry (typically a 6–10 week lead time).
☐ Finalize appliance selections and confirm manufacturer spec sheets for electrical and rough-in plumbing alignment.
☐ Choose and order all hard finishes: tiles, hardwood flooring, countertop slabs, and light fixtures.
4. On-Site Prep & Living Space Setup
☐ Clear all personal belongings, wall art, and furniture from construction zones.
☐ Set up temporary living or cooking zones if staying on-site during a main floor or kitchen build.
☐ Arrange dumpsters/bins or designated waste staging areas on the property driveway.
Pro Home Renovation Tips to Avoid Costly Delays
Even well-planned projects can run into hurdles. Incorporate these actionable home renovation tips to keep your project strictly on schedule:
Freeze Design Choices Early (Avoid “Scope Creep”): Changing tile choices, fixture positions, or wall layouts mid-construction resets lead times and stalls active trades. Make 100% of your material selections before demolition begins.
Account for Ontario’s Weather Seasons: Exterior concrete pours, roof additions, and foundation work proceed fastest between spring and late autumn. If planning a winter start, ensure structural framing and weather-tight enclosures are completed before heavy snow sets in.
Build in Lead-Time Buffers for Materials: Global supply chains can delay specialty items. Always add a 2-week buffer to expected delivery dates for imported stone, custom windows, or specialized plumbing trims.
Schedule Weekly Site Walkthroughs: Establish a fixed weekly check-in with your general contractor to review completed milestones, address questions, and verify upcoming material deliveries.